Study Carrels
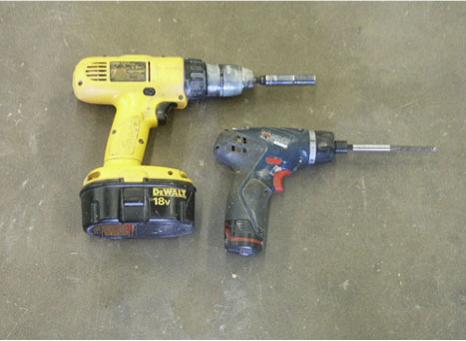
For tools you need a drill, a long Phillips bit and a long 7/16 socket
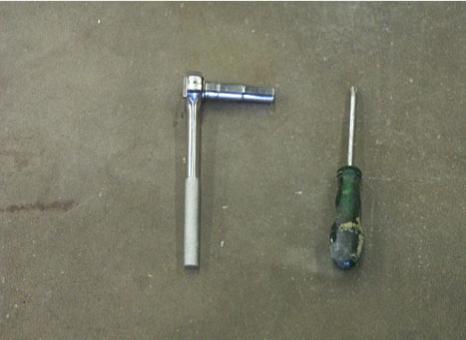
You can also use hand tools, but it will take you much longer.

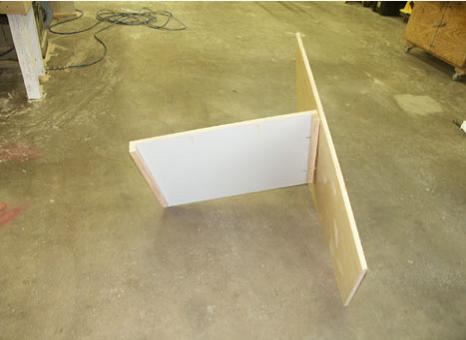
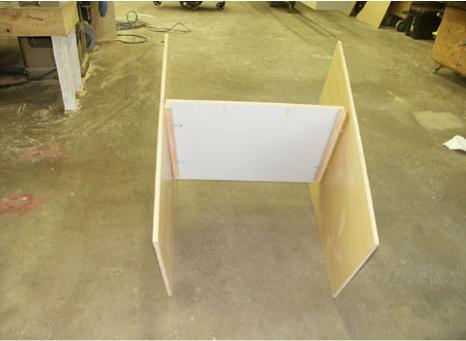
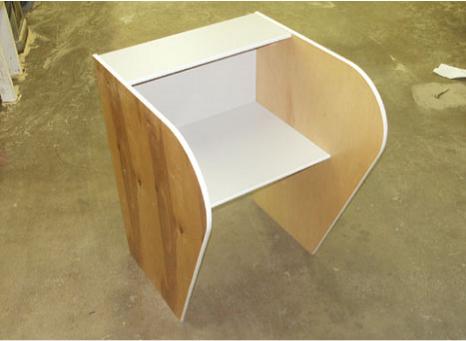
Here are parts for one starter desk. An add-on is the same, but with just one side. The parts are (going clockwise) the two sides, back, shelf and writing surface (top)
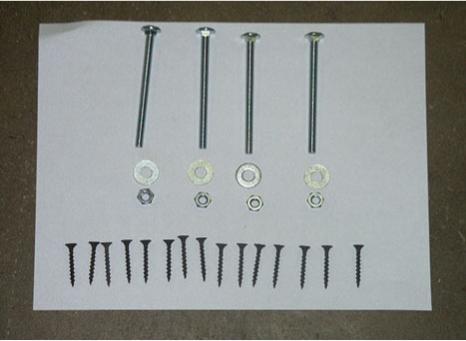
This is the hardware you need to assemble one desk: carriage bolts, washers, nuts and 1 1/4" black screws.
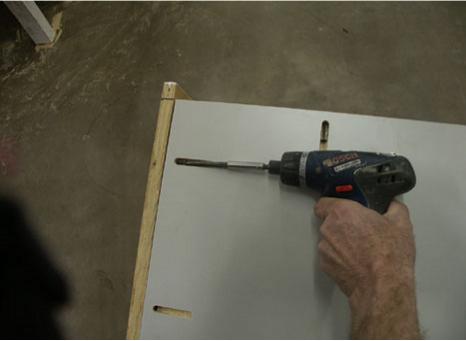
First thread a bolt through the holes in the side into the holes in the cleat below the top.
Now do the same thing on the other side. IF YOU ARE MAKING A RUN OF SEVERAL UNIT YOU NEED TO THREAD THE BOLT THROUGH TO THE NEXT TOP AT THIS TIME (not shown).
Now add a washer and a nut to each bolt and tighten them down.
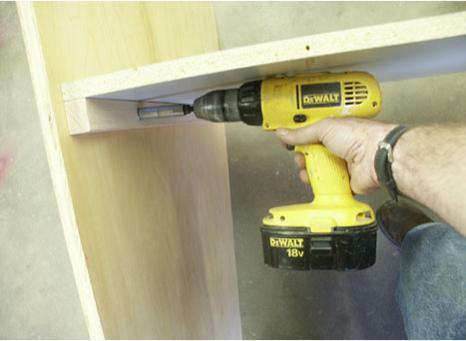
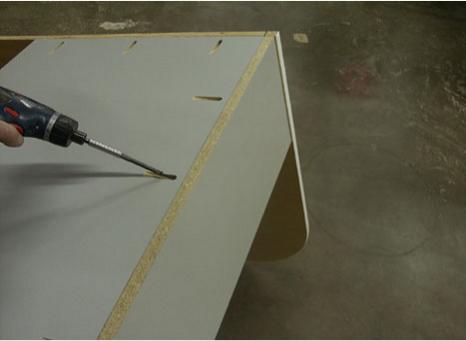
Grab a back and screw it flush with the sides and one inch down from the top of the side using the 1 1/4" screws. . Notice the side has been marked at one inch down. If you are having problems you may need a longer Philips bit.
A view of the back
Get a shelf and screw it to the back with some of the 1 1/4" black screws.
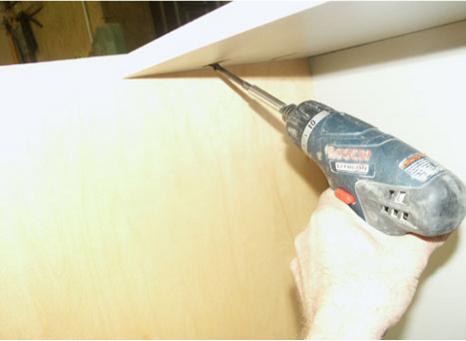
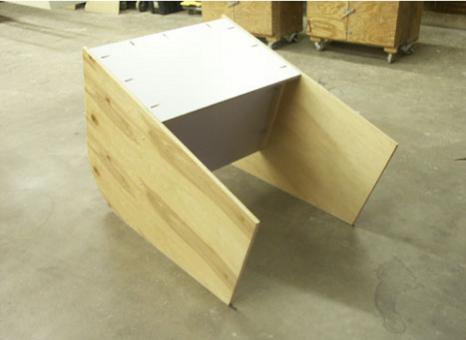
Flip the unit upright and screw the shelf from the bottom. If you are doing a large run, you may need several people to flip the unit up. Be careful to flip them up all together (don't twist)
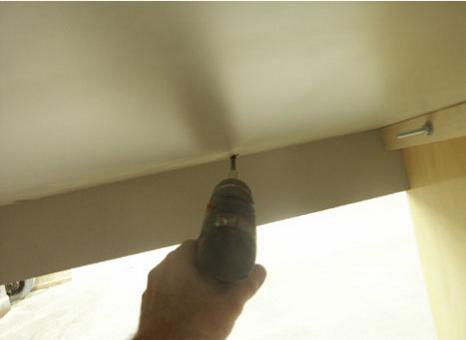
Now look under the top and screw the top to the back. If you are going to screw the units to the wall (recommended), find wall studs and screw area shown into the wall studs using 2 1/2 screws provided.
CONGRATS! The first one you do may take an hour or so, but after you do a few you will get to where you can assemble about one unit every 15 minutes. If you have have questions/problems call Shane Stock 956 645 5813